As always seems to be the case, there are several ways to find the MAC (Media Access Control) address of your interfaces in Windows. I am going to try to make this easy and considerate of different versions of Windows out there.
Using the Command Line
To find the Windows MAC address from Command Line, use the following steps:
-
Click Start.
Search for Command Prompt and click the top result to open the app. It will look like this:
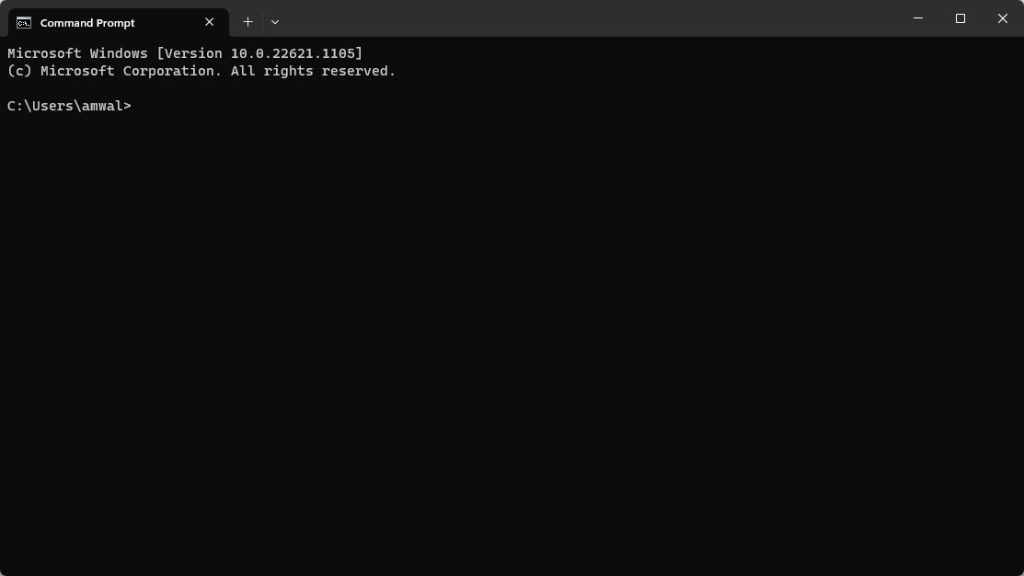
At the > prompt in that window, type the following command and press <Enter>: ipconfig /all
The output will look as follows (it will likely scroll in your window so you will have to scroll up to see your entire list):
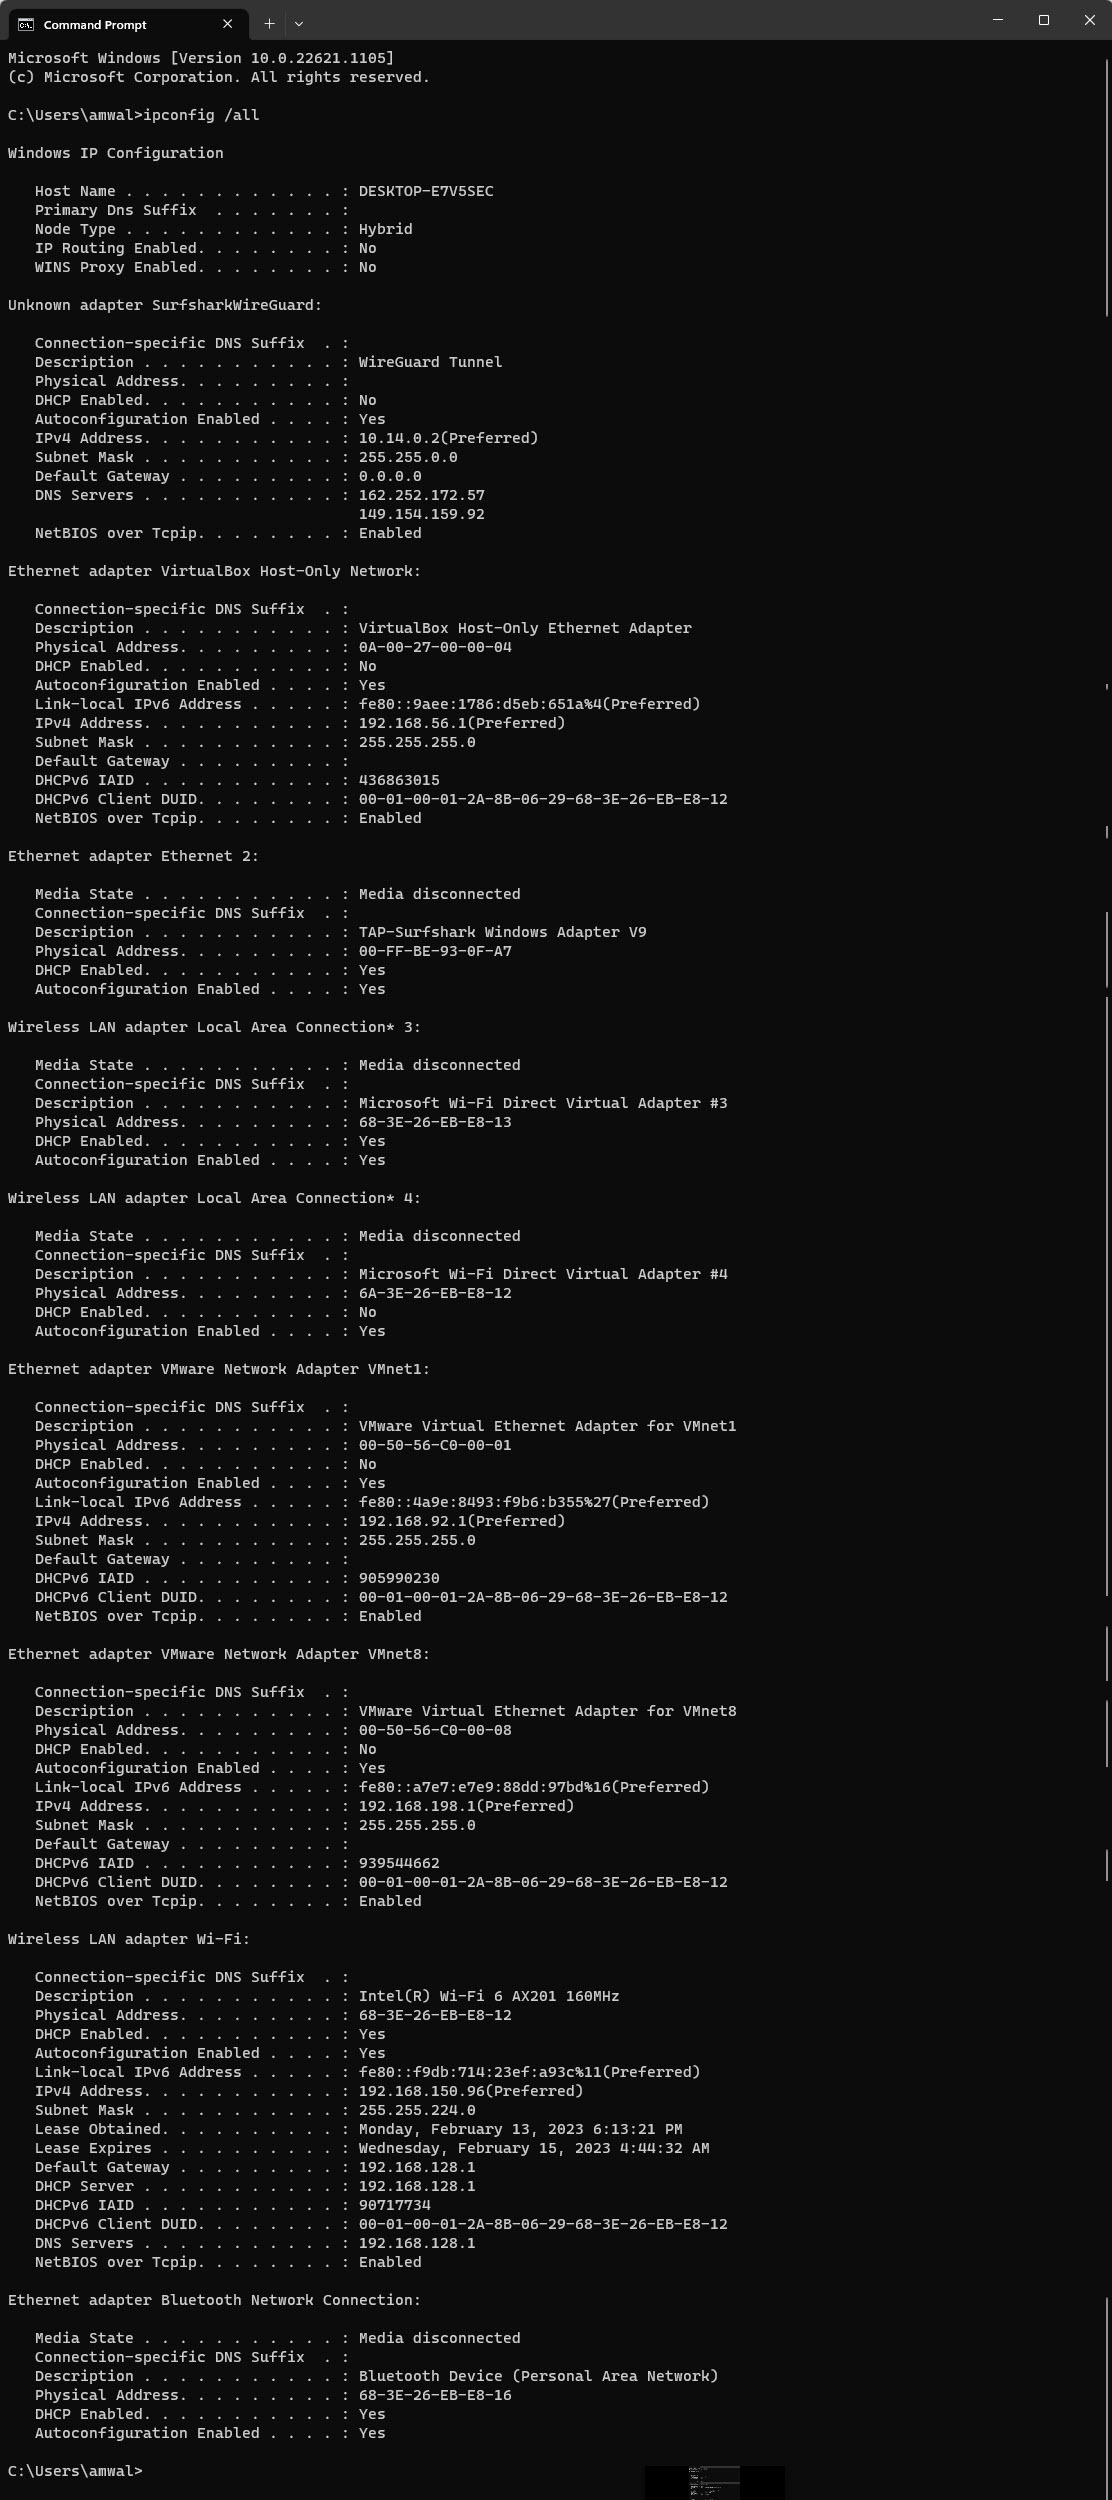
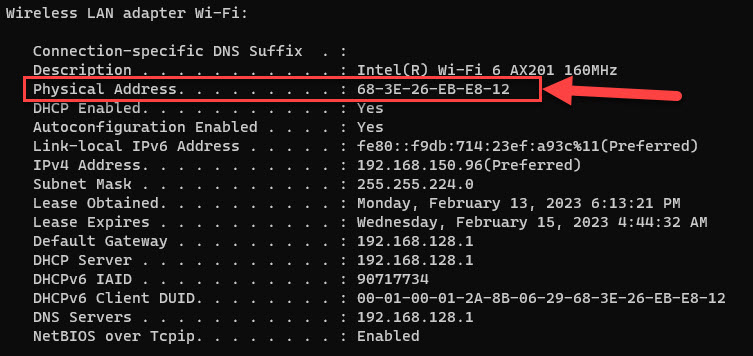
The MAC will be listed in the “Physical Address” setting. I have zoomed in on one of my interfaces here to clearly show this:
That should work on pretty much every version of Windows, though older ones may not match the entire output on the interfaces, you will always be able to see the MAC.
Using Powershell
Now this option may not work on older versions of Windows, but if you have Windows 10 and later you should be good.
Click Start.
Search for PowerShell and click the top result to open the app. It will look like this in Windows 11, in Windows 10 it will be blue in color:
Now enter the following command and press <Enter>: Get-NetAdapter
The output will look like this:
Note the MAC addresses of the interfaces are clearly shown in a nice neat column.
Using the Settings App
Now this is going to vary depending on your Windows version, but hopefully you will be able to follow along.
Open Settings.
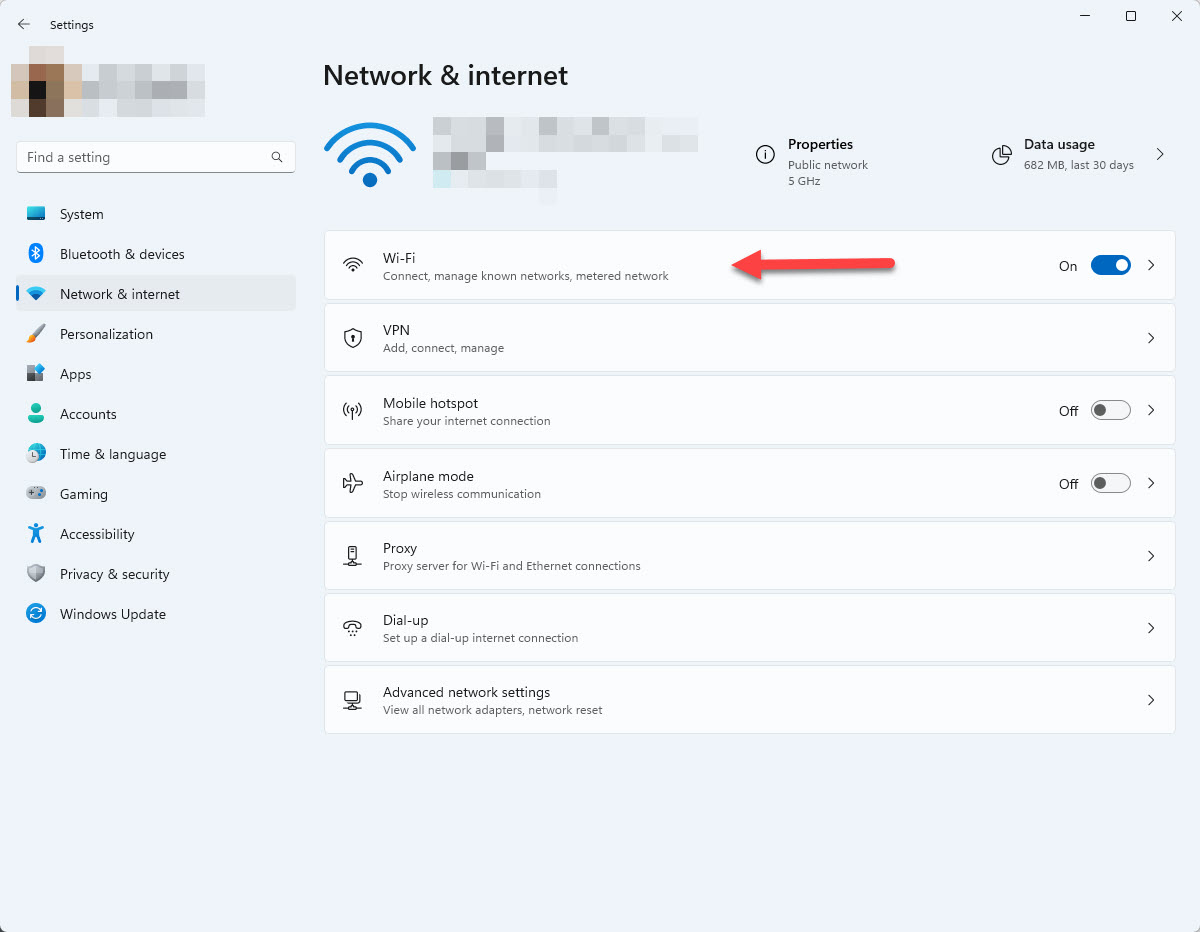
Click on Network & Internet.
Click on Ethernet or Wi-Fi depending on your network connection. I happen to be on Wi-Fi. Select the connection:
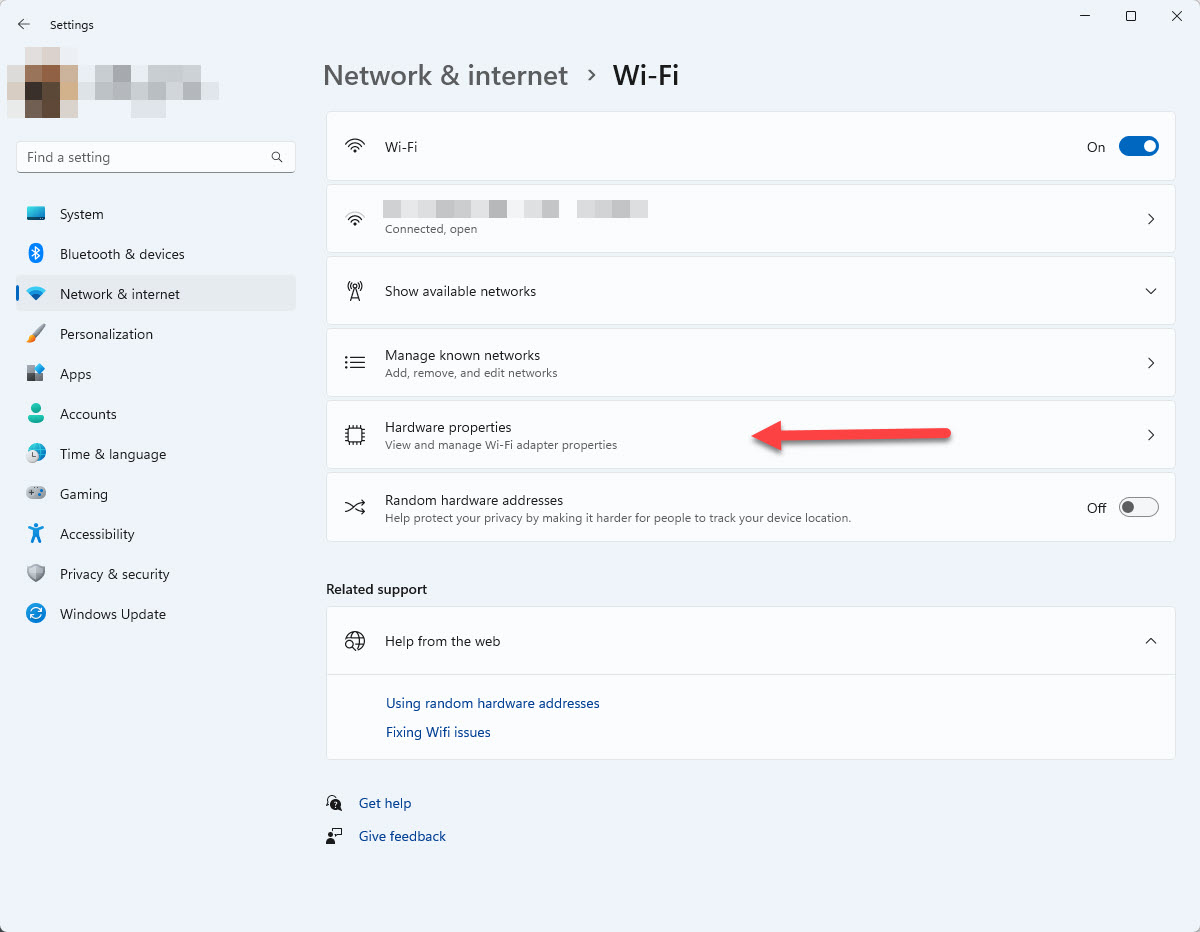
Next, select Hardware properties:
Finally, you will see the MAC address at the bottom of the next display:
Sometimes the command line window is just so much easier.
The Good Old Control Panel
OK, let’s try to navigate through this.
Open Control Panel.
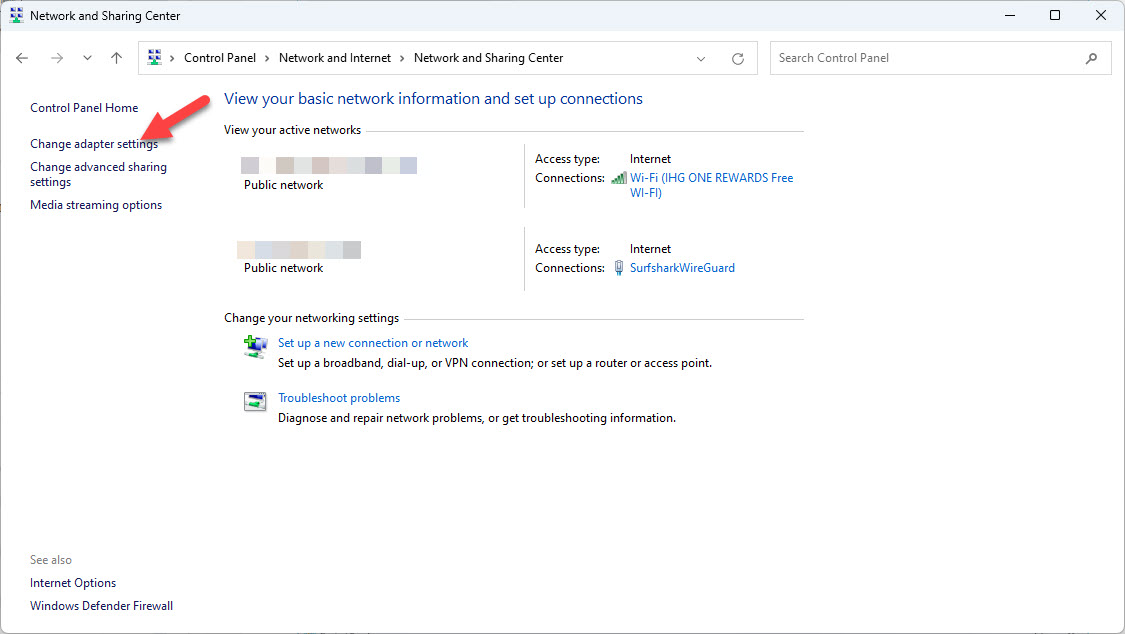
Then click on Network and Internet. You may also then have to click on Network and Sharing Center:
Now click on Change Adapter settings:
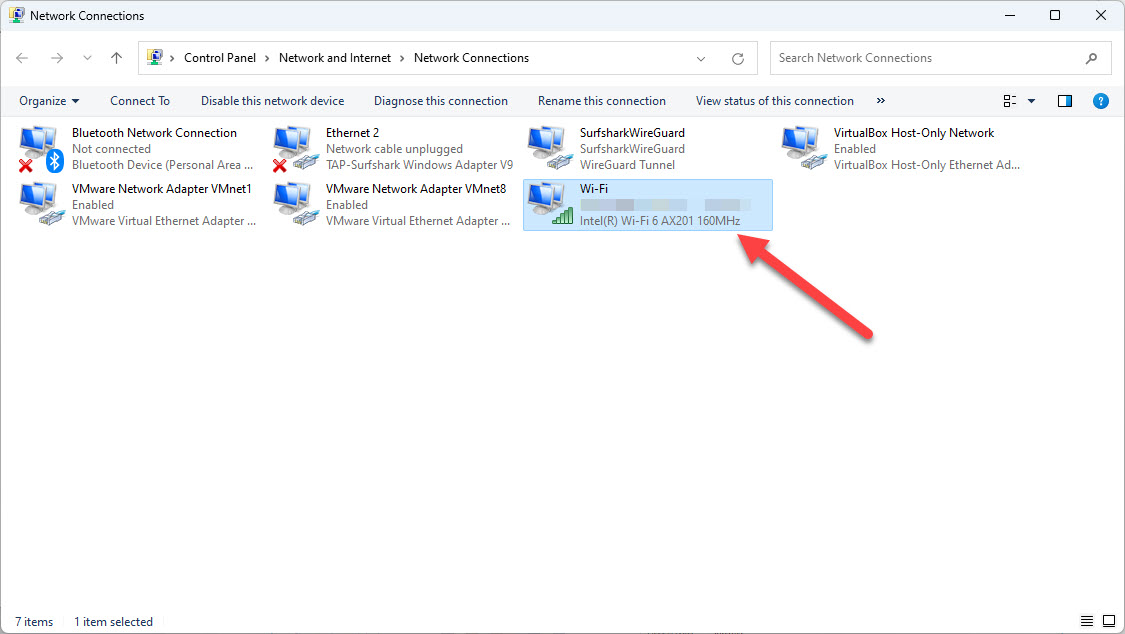
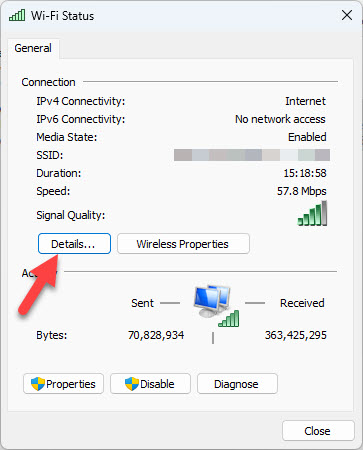
Then double click on the adapter that you wish to examine (I am selecting the Wi-Fi interface). You will get this pop-up:
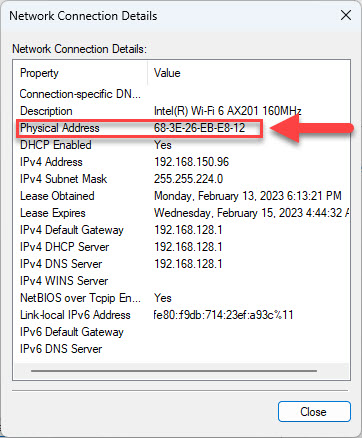
Now click on the Details button, and you will get yet another pop up with the MAC address shown:
How sore is your clicker finger??
I hope you find this article and its content helpful. Comments are welcomed below.
If you would like to see more articles like this, please support us by clicking the
patron link where you will receive free bonus access to courses and more, or simply
buying us a cup of coffee!


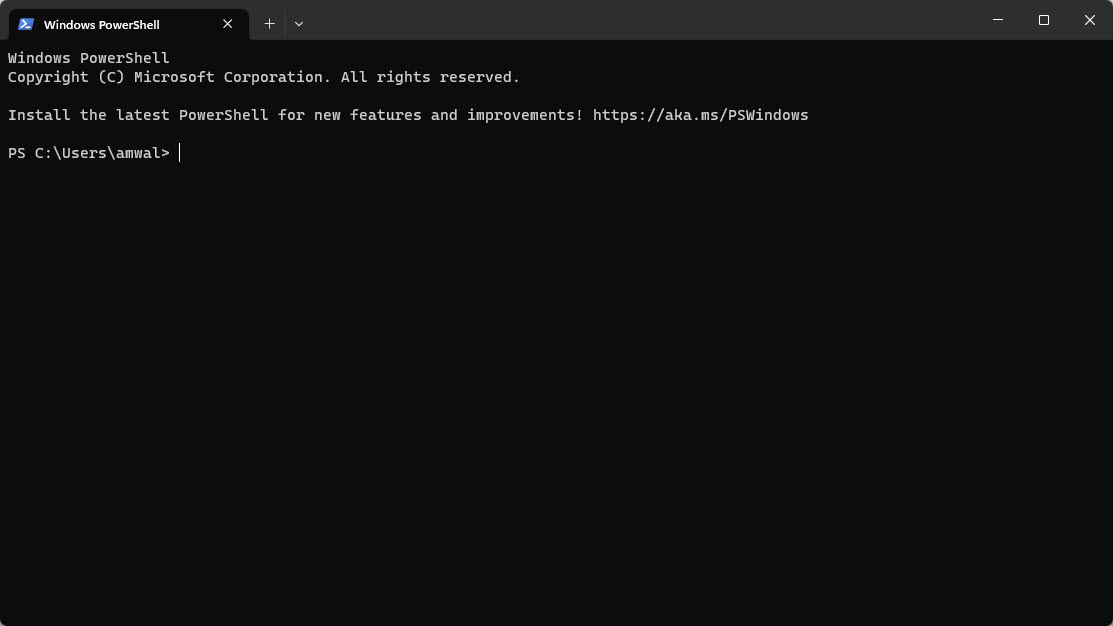






I know, I am a bit cheeky about the command line option, but it really is true! Sometimes I think we need to be more active on computers at the command line when using Windows. Just sayin’ 🙂