
|
Check out these great references as well: |
| Our custom profiles repository for Wireshark |
| Our Udemy course on Wireshark |
| Our Udemy course on Wireless Packet capture |
I am often asked how SSL and TLS can be decrypted in Wireshark captures. I have written a separate article on HTTPS Decryption in Wireshark here.
NOTE: Wireshark no longer supports this decryption process. You have to use an older version of Wireshark. The reason decrypting SSL with an RSA key isn’t commonly used anymore is that Perfect Forward Encryption (PFE) has made it obsolete. Sessions negotiated with Diffie-Hellman don’t use the RSA key directly; instead they generate a one-time key, stored only in RAM, that is encrypted using the key on disk. That said, I have left this post active for perhaps learning and understanding.
The procedure/experiment below will allow you to uncover this process and practice it using a capture provided and SSL/TLS keys – also provided.
Let’s start by first downloading a ZIP file here. I suggest unzipping this to your desktop, as all procedures below are illustrated that way.
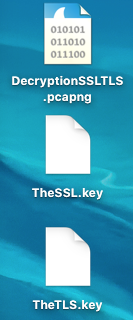
Assuming you have done so, you will have the following three files:
Step 1: Open the .pcapng File
If you have Wireshark installed, you should simply be able to double click it. The Wireshark screen should look like this if you are in the default profile:
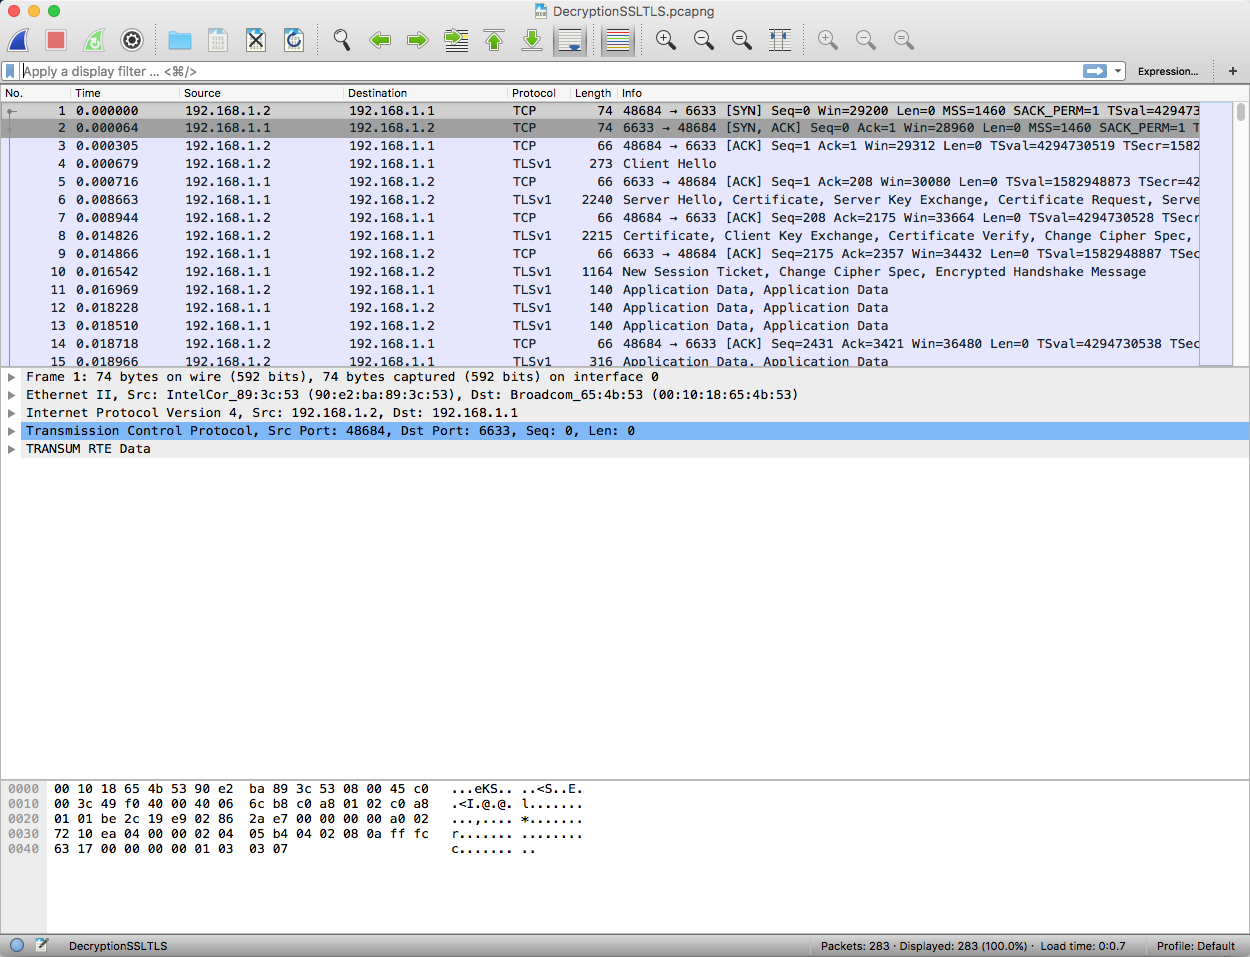
A little note: We have the TRANSUM plugin enabled. It is not necessary, so do not worry about the TRANSUM information.
A quick study of the capture reveals TCP and the content is encrypted. So we have no real idea of what is going on. Looking at packet #4:
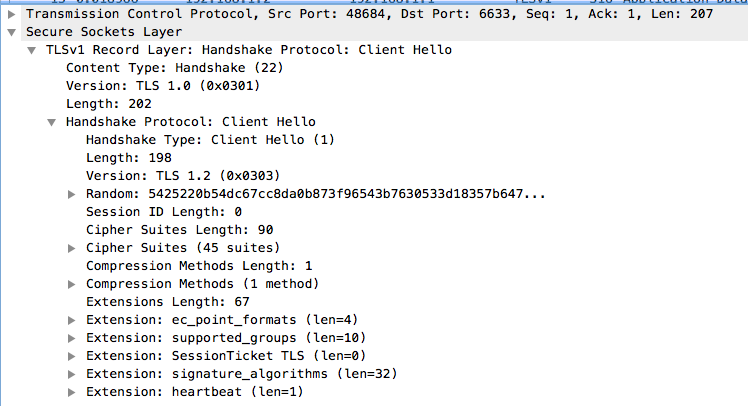
By the way the Random field is part of the TLS key!
You also see that packet 11 is just application data and we have no idea what it is.
Step 2: Using the SSL Key
To unlock this capture, we need two things: the SSL key, and the TLS key.
We begin by configuring the SSL Key.
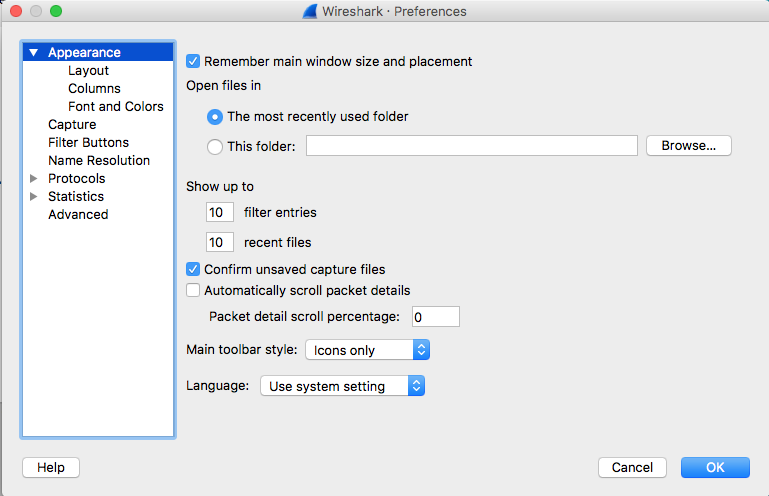
Go to Wireshark> Preferences on a MAC or Edit> Preferences on a Windows machine. With either you will get the following screen:
Now select the Protocols, and scroll down to the SSL Protocol:
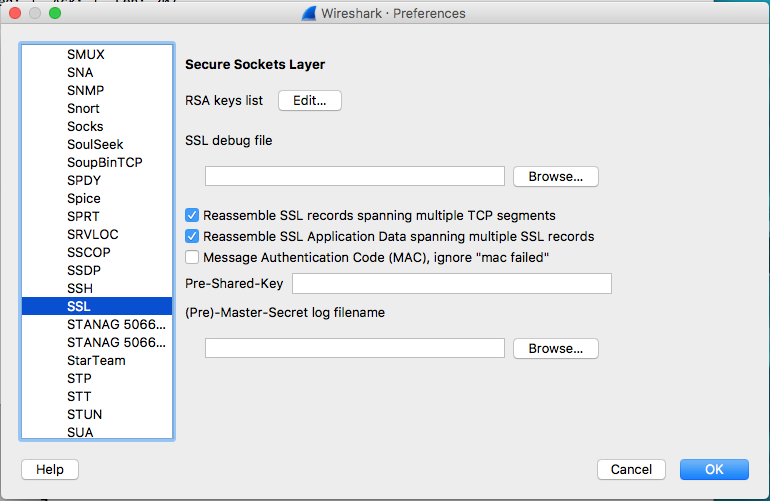
Next, click the Edit button next to RSA Keys list. The following pop up will appear:
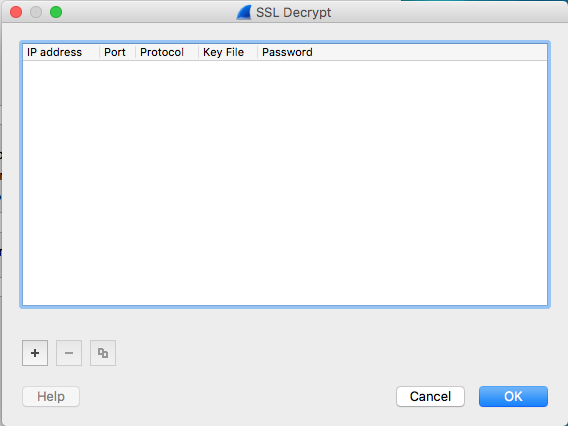
This screen allows you to configure multiple keys. The cool thing is that Wireshark will use whatever key works!
Click the “+” sign to add a new key, and enter the information as shown (the system will begin expecting the IP Address, then tab to the Port and Protocol fields; you have to click the area just below the Key File to open the file navigation and ofcourse you will select TheSSL.key file that was unzipped to your desktop):
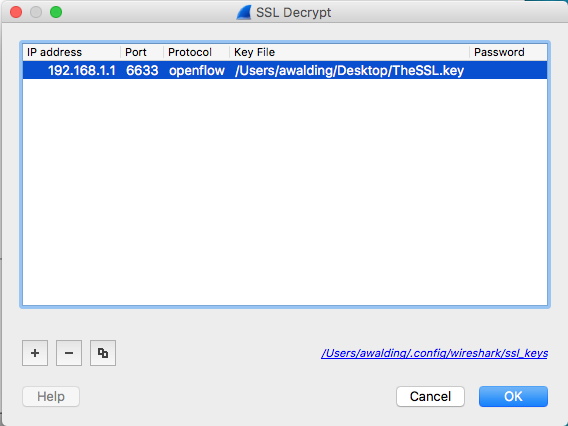
Click OK.
Step 3: Adding the TLS Key
Now, select the browse button to configure the Master Secret log filename (TheTLS.key that should be on your desktop):
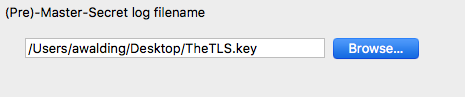
Click the OK button.
At this point the display in Wireshark is going to change:

Now we see that packet 11, for instance, is actually OpenFlow, and Wireshark has been able to dissect the protocol.
Congratulations!
You have successfully configured Wireshark to decrypt SSL and TLS. Hope you find this article helpful, and if you would like to see more articles like this, please support us by clicking the Amazon links, or buying us a cup of coffee!
Anything you would add?
I hope you find this article and its content helpful. Comments are welcomed below. If you would like to see more articles like this, please support us by clicking the patron link where you will receive free bonus access to courses and more, or simply buying us a cup of coffee!, and all comments are welcome!