

How do I install / upgrade Wireshark in Ubuntu Linux? First things first – the Wireshark downloads page is here: https://www.wireshark.org/download.html
I know I have put the answer to this in other articles over the years (like this one), but I think it is appropriate to answer the question directly and specifically.
Installing Wireshark in Ubuntu or virtually any Linux distribution is pretty easy – it is available in almost all Linux repositories. Just add it from the software installer, or from the terminal/command line:
sudo apt install wireshark
Let’s say that does not work. Perhaps you need to add the repository first:
sudo add-apt-repository universe
sudo apt install wireshark
Sometimes, when you install Wireshark in the manner described, or you install Ubuntu Linux as a new system, a VM, or whatever, you will note that the version of Wireshark is older than the current release, so this getting the latest release can be an issue if the repositories are not updated (and trust me they are painfully slow).
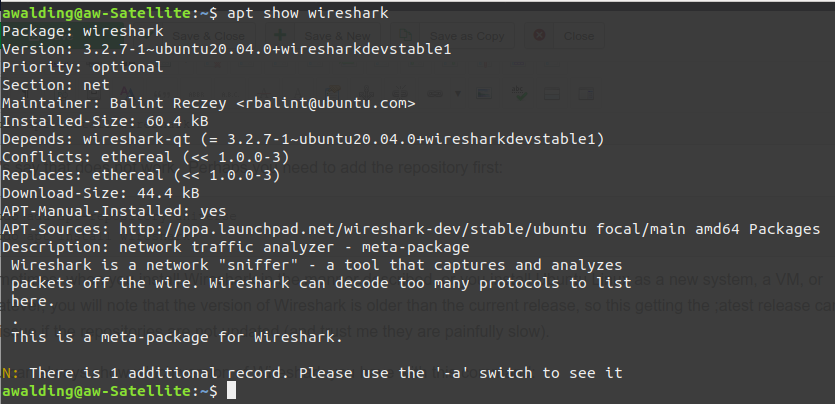
You can always show which version of Wireshark you have with this command:
apt show wireshark
It will look something like this:
If not having the latest release is an issue for you, you should add the official Wireshark PPA.
In a terminal, use the following commands one by one:
sudo add-apt-repository ppa:wireshark-dev/stable
sudo apt update
sudo apt install wireshark
**Note here: if any of my readers are Kali Linux people – the above should work, but I noted in the latest version of Kali, you must also run this command:
sudo apt-get install software-properties-commonbefore the above three commands.
Your Wireshark will be updated to the newer stable version.
During the installation process, you may be asked whether to allow non-superusers to capture packets. Select Yes to allow and No to restrict non-superusers to capture packets & finish the installation.
If you want to run Wireshark without sudo (for instance if you selected No in the previous installation), then run the following command as root:
sudo dpkg-reconfigure wireshark-common
On the screen that pops up, select Yes by pressing the tab key and then using enter key.
Since you have allowed the non-superuser to capture packets, you have to add the user to wireshark group. Use the usermod command to add yourself to the wireshark group.
sudo usermod -aG wireshark $(theusername)
Finally, restart your Ubuntu system to make the necessary changes to your system.
sudo reboot
I hope you find this article and its content helpful.
If you would like to help support the continued development of independent networking, broadband, Wi-Fi, VoIP, and packet analysis content, please consider joining our Patreon community where you will gain access to exclusive technical resources, downloadable labs and PCAPs, bonus course content, troubleshooting guides, and additional member-only material. Comments and technical discussion are always welcomed at our Patreon community or on our Discord server. You can also support our work by simply buying us a coffee — every contribution helps us continue creating practical, real-world network science education for professionals and enthusiasts alike.