
In our previous articles on nmap ( Getting Started with nmap and Deeper Scanning with nmap and Even Deeper Scanning with nmap and Advanced nmap Scripting Engine) we ran everything from the command line interface of various Linux distributions. When you install nmap, you also get something called ‘Zenmap’ which is the graphical user interface front end for nmap.
Some people prefer this front end. So let’s fire it up in Parrot and see what it looks like. The first thing I did was switch to the root user:
su root
Then entered the password.
Now with root priviledges, I entered zenmap at the terminal prompt and the GUI started:
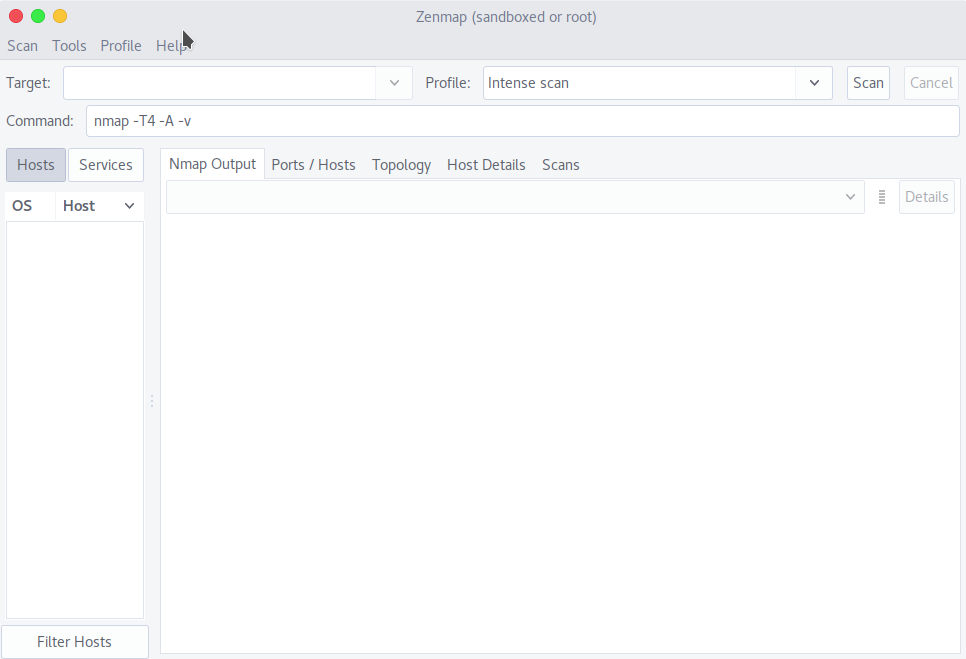
Note a couple of things: By default in the command box there is the following command: nmap -T4 -A -v but the Target box is empty. Also note that there is a Profile field. Profiles allow you to create custom repeatable scans, but the good folks at nmap have preloaded some profiles for us.
So I loaded the Quick Scan profile, and ran it against my home network:
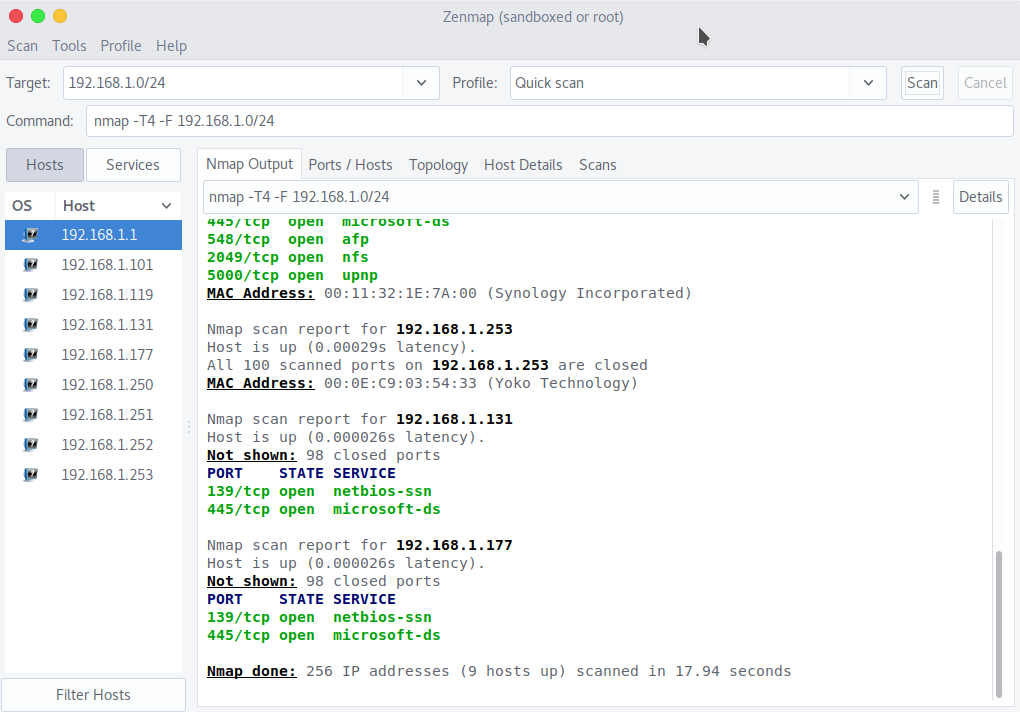
Notice a list of found hosts appears on the left, and by selecting each host I can view the results of the scan for that selected host on the Nmap output tab.
The tabs include Ports/Hosts, and Topology, Host Details and prior executed scans, which you can save.
Pretty nice. I hope you find this article and its content helpful.
If you would like to help support the continued development of independent networking, broadband, Wi-Fi, VoIP, and packet analysis content, please consider joining our Patreon community where you will gain access to exclusive technical resources, downloadable labs and PCAPs, bonus course content, troubleshooting guides, and additional member-only material. Comments and technical discussion are always welcomed at our Patreon community or on our Discord server. You can also support our work by simply buying us a coffee — every contribution helps us continue creating practical, real-world network science education for professionals and enthusiasts alike.